
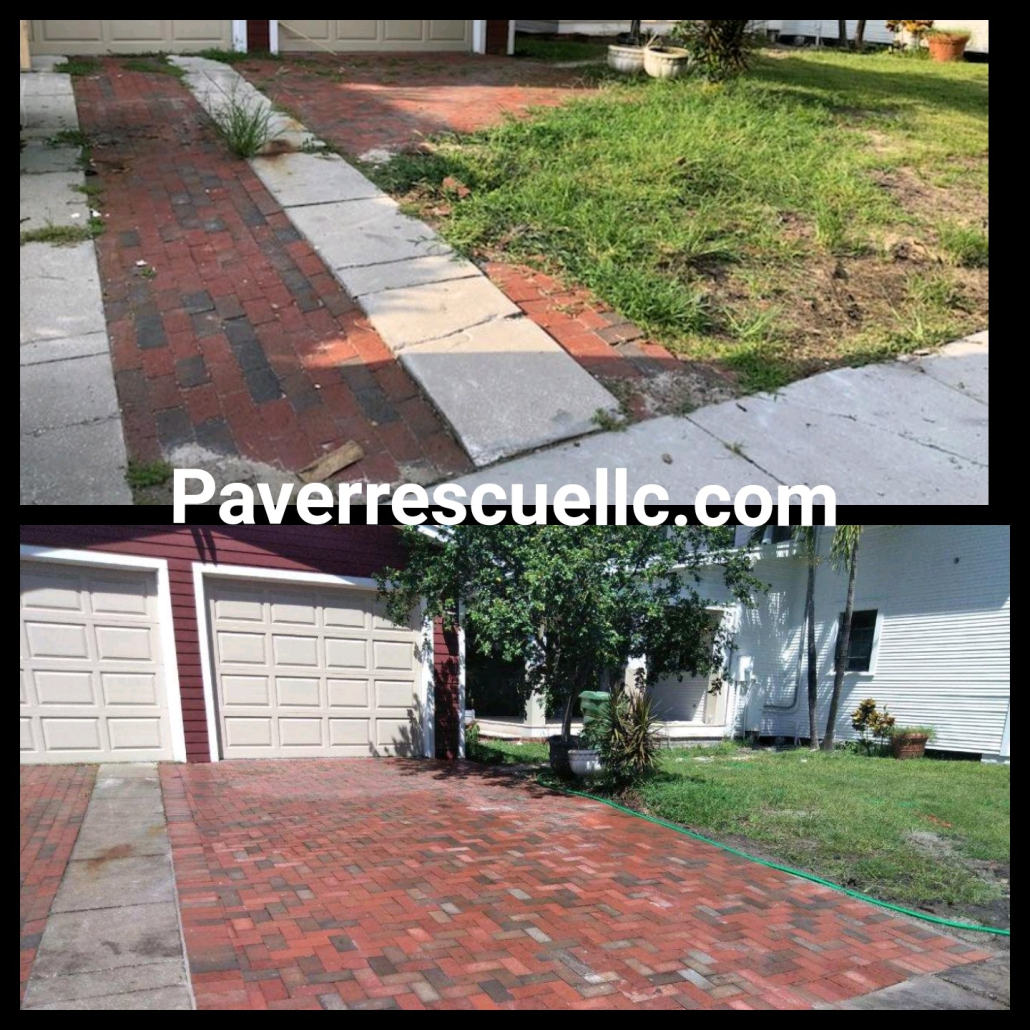
By early October, a Brandon driveway has absorbed somewhere north of 25 inches of rain since June. Eight weeks of afternoon storms do most of the damage, and almost none of it announces itself. You do not hear joint sand leaving. You just notice, sometime around Thanksgiving, that a paver near the apron rocks when the truck rolls over it.
That rocking paver started as a quarter inch of missing sand in July. Left alone through dry season, it becomes a low spot, then a cracked paver, then a repair that costs a few hundred dollars instead of an afternoon of resanding. Dry season is the window to fix all of it. Humidity drops, rain-free stretches get long enough to seal properly, and the surface finally dries down through the joints instead of just across the top.
Walk the driveway before you do anything else
Give it ten minutes on foot, ideally the morning after a rain when the wet spots and low spots are still obvious. You are looking for five things, and each one tells you something different.
- Joint depth. Drag a key or a screwdriver tip down a joint. If the sand sits more than an eighth of an inch below the paver chamfer, the joints are hungry. If you can see the bedding sand underneath, they are empty and the pavers are already moving against each other.
- Standing water and settled areas. Puddles that linger an hour after the rain stops mean the base underneath has shifted or washed. In Hillsborough County’s sandy fill, a leaking irrigation line or a downspout dumping at the edge will hollow out a base faster than anything the sky does.
- Black or green staining. Dark blotches in shaded areas are mold and mildew, not dirt. They root into the pores and the joints, and they spread every week the surface stays damp.
- Edges and borders. Check the outside row. If the soldier course has fanned out or tilted outward, the edge restraint or its spikes have failed, and everything inside it will creep.
- Sealer condition. Splash a cup of water on a clean section. If it beads, the sealer is still working. If it soaks in and darkens the paver within a few seconds, the film is gone.
Write down what you find. The order of repairs matters more than the individual fixes.
Refill the joints before you think about sealer
Joint sand is the whole structural system. It keeps each paver from grinding against its neighbor, keeps ants from tunneling, and keeps weed seed from finding soil. Eight weeks of runoff is exactly what carries it off, especially on a sloped Brandon driveway where water sheets toward the street.
Refilling is a reasonable DIY job on a small area. Sweep dry sand into the joints, run a plate compactor or at least tamp it, then sweep again, because it always settles the first time. Polymeric sand is the better choice on a driveway that sees vehicle weight, but it is unforgiving in Florida. It has to go in bone dry and get activated with a light mist, not a hose. Too much water and you get a crusty haze on the paver faces that is difficult to remove. If your joints are deep across the whole surface, that is when professional paver cleaning and sealing in Brandon earns its keep, because resanding a 600-square-foot driveway by hand is a long, hot day.
Kill the mold, but put down the pressure wand
Pressure washing alone is not maintenance. A 4,000 PSI wand held close to a brick paver chews the face off it, blasts out whatever sand survived the summer, and leaves the surface more porous than before. More porous means it holds water longer, which means mold comes back sooner. That is the whole cycle in one sentence.
Proper cleaning uses a surface cleaner at controlled pressure plus a treatment that actually kills the organism, not just knocks the color off it. Mold on a shaded Brandon driveway under live oaks will return within a few months if you only rinse it. This one is worth handing to a pro, both for the equipment and because the cleaning has to be sequenced with the repairs and the resanding. The same crew logic applies to lanais and pool decks, where full paver restoration and repair follows the same order: repair, clean, resand, seal.
Reset the sunken and rocking pavers
Any paver that moves under your foot needs to come up. Lift it, add or remove bedding sand to bring it level with its neighbors, set it back, and compact. A handful of pavers is a Saturday project with a pry bar and a rubber mallet.
Larger depressions are not. If you have a dip more than a few feet across, the base itself has washed or settled, and relaying it means pulling dozens of pavers, regrading the base, and compacting in lifts. Get a quote. Nationally, paver repair and releveling runs roughly $4 to $10 per square foot depending on access and how much base work is involved, while full driveway installation typically lands in the $12 to $25 per square foot range. Fixing a 20-square-foot dip now is cheaper than replacing cracked pavers after dry-season traffic works on it.
Seal in dry season, and give it real coats
Sealing is the last step, never the first. The surface has to be clean, repaired, and fully resanded, and it has to be dry all the way down. Florida slabs are rarely as dry as they look. Plan on 24 to 48 rain-free hours before application and the same after, with temperatures in the 50 to 90 degree range. December through April gives you those windows. August does not.
One thin coat is a waste of the weekend. Pavers are thirsty, and the first coat mostly vanishes into the stone, so a minimum of two coats is the standard on brick. Water-based sealers are the right call in this climate because they breathe, which matters when there is always some moisture trying to move up through the slab. Solvent-heavy product over a damp base is how you get white haze and peeling. On a driveway with normal sun and traffic, expect to recoat every three to five years, and closer to three if it faces west and bakes all afternoon. Travertine plays by different rules on pool decks and lanais, where a non-slip additive is usually worth specifying.
If you only do one thing
Check the joints and refill them. Sand is what holds the field together, and every other problem on this list gets worse faster once the joints are empty. Sealing over hollow joints just locks the problem in, and no amount of product compensates for pavers that are free to shift. Get the sand back in this month, then schedule the cleaning and sealing for a dry stretch.


Leave a Reply
Want to join the discussion?Feel free to contribute!